Introduction #
A Surprise Find on Facebook Marketplace #
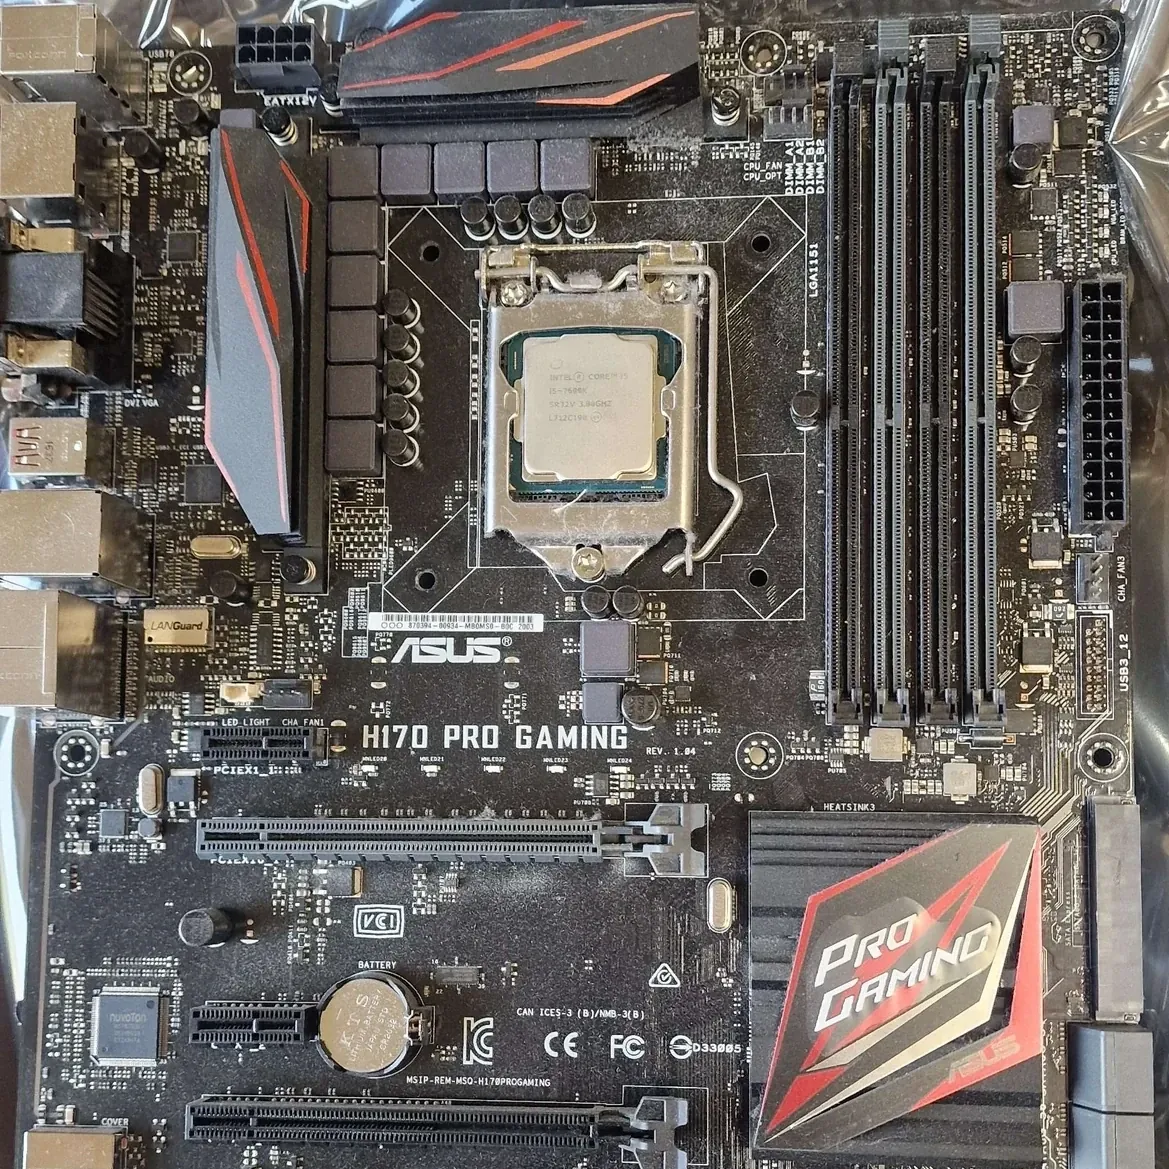
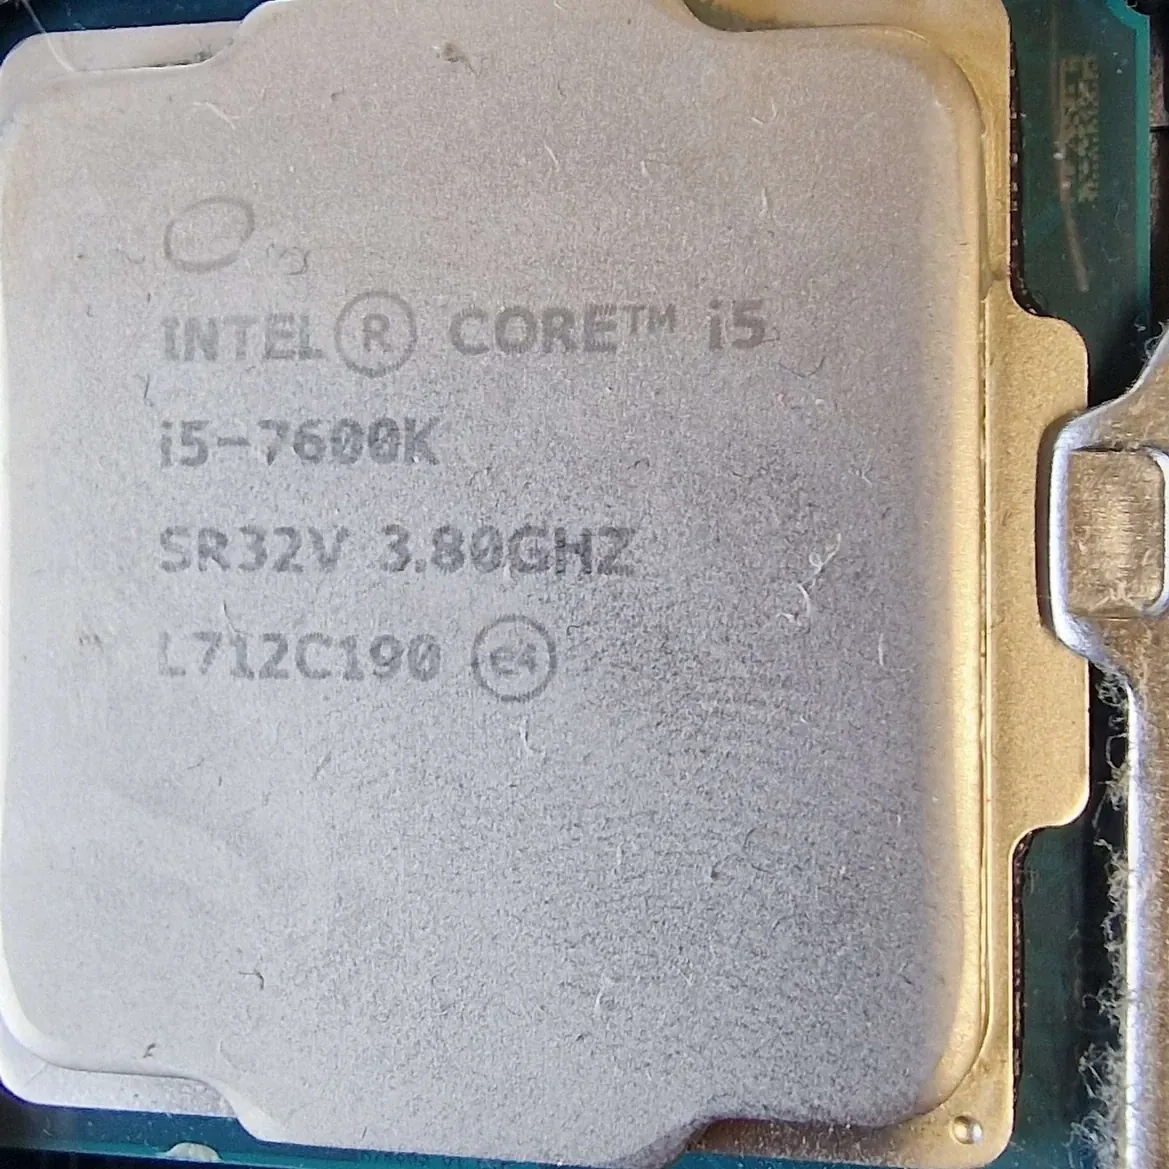
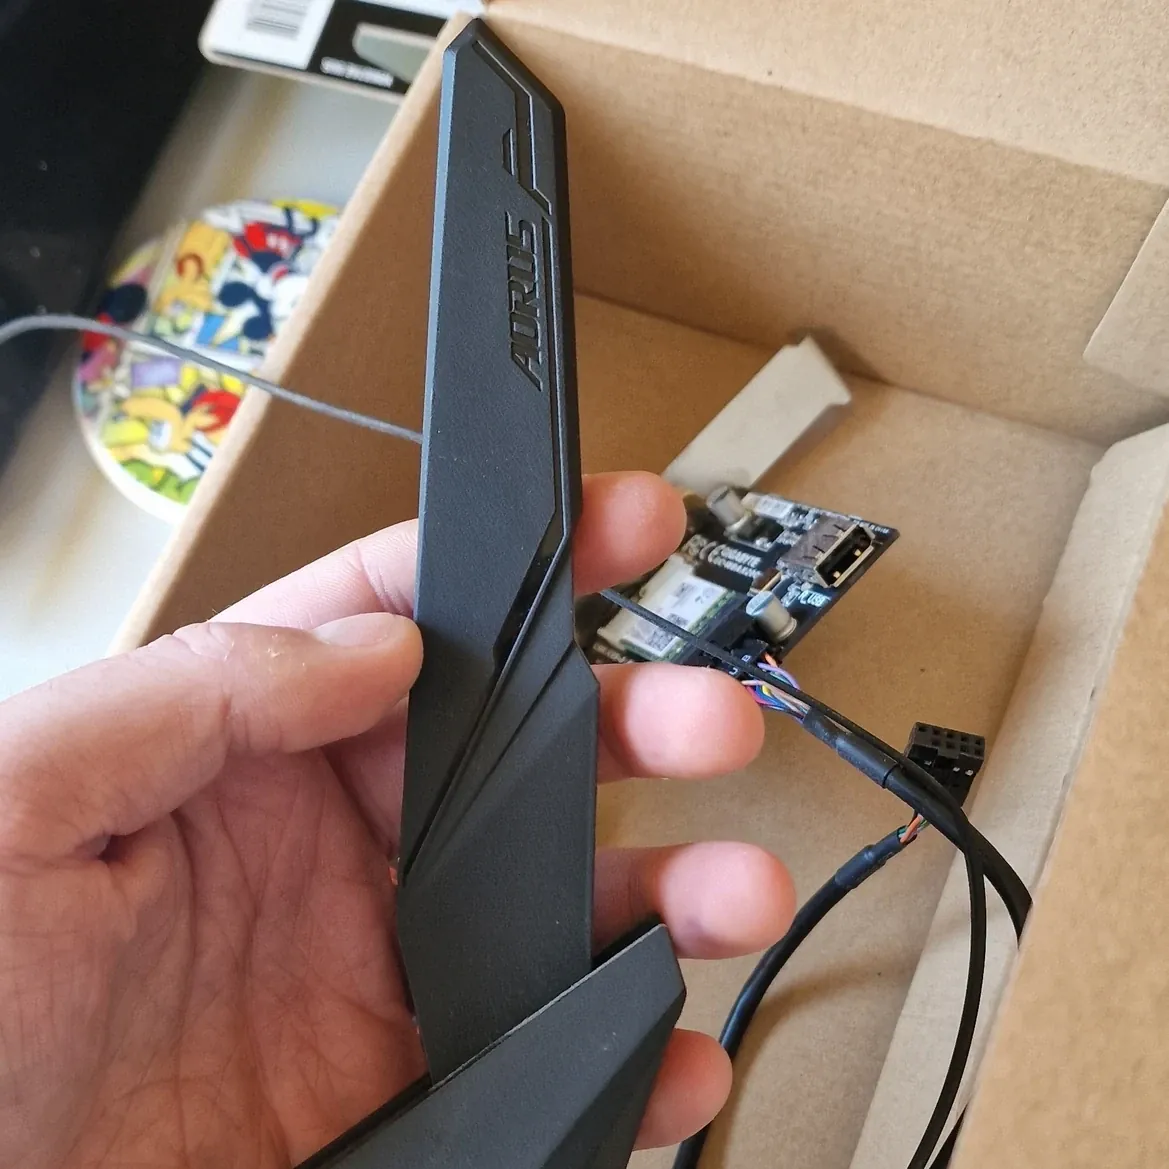
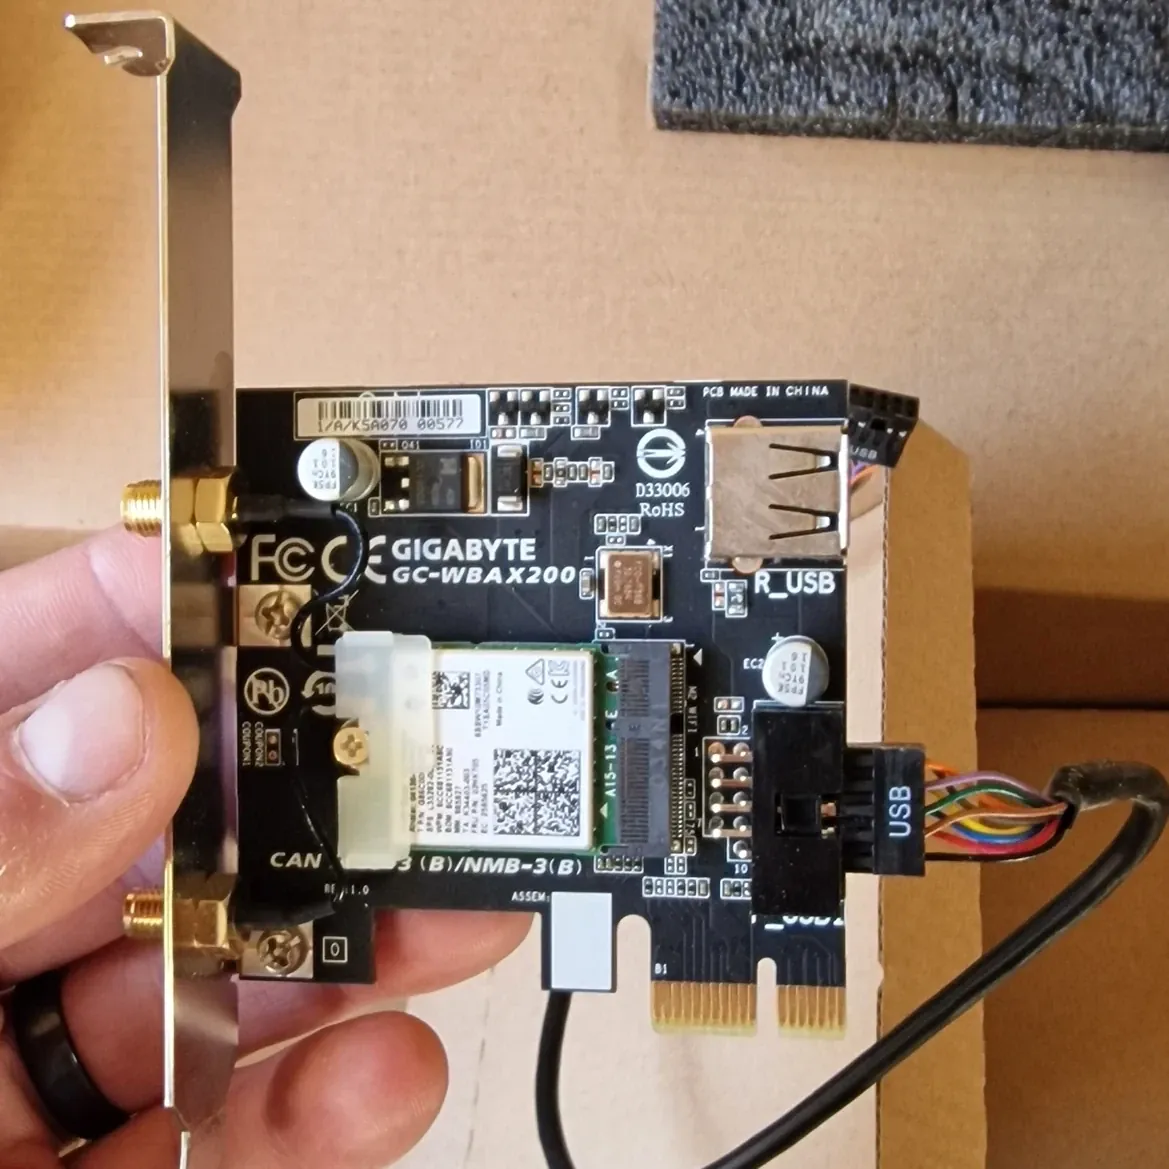
One day, my wife came across a motherboard and keyboard being given away for free on Facebook Marketplace. When we picked them up, I was surprised to see that the motherboard still had the CPU installed, along with a WiFi + Bluetooth adapter included in the box. The motherboard was an ASUS H170 PRO GAMING with an Intel i5-7600K CPU installed, and the WiFi card was a GIGABYTE GC-WBAX200.
The Plan #
Building a Gaming PC for My Daughter #
Having an old Graphics Card (GTX 760 4GB) and a 4K Monitor (BenQ EL2870U) already at my disposal, I decided to build a gaming PC for my 7-year-old daughter. The primary goal was to create a system for school projects and light gaming like Roblox.
Choosing the Right Components #
To make sure I picked the right components, I turned to pcpartpicker.com and used their “Builder” tool. This handy tool helps simulate building a computer by inputting each individual part. It provides valuable information such as pricing, power consumption, and compatibility.
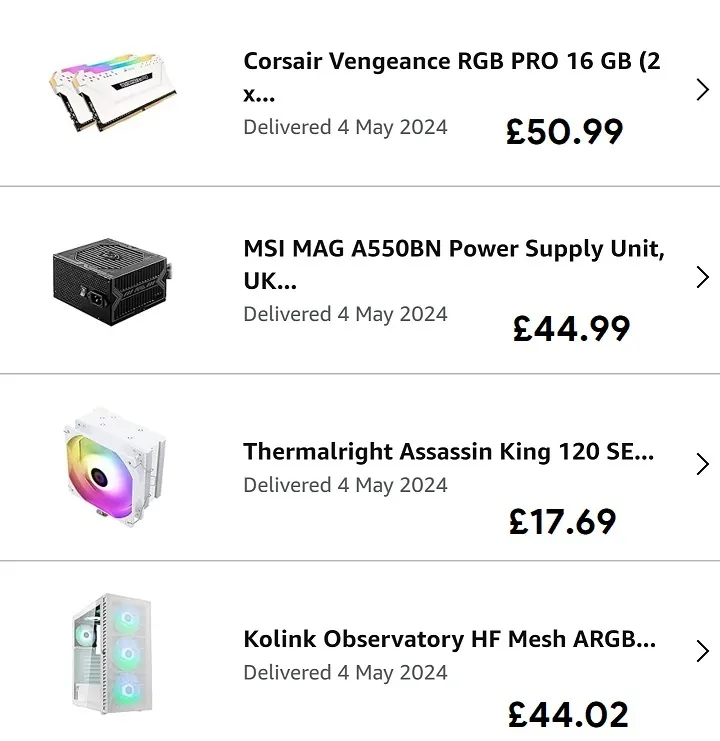
After entering all my existing parts, I began searching for affordable yet quality components with an appealing aesthetic to match. Here’s what I ultimately chose:
Final Component List #
- Motherboard: ASUS H170 PRO GAMING (included in the Facebook Marketplace find)
- CPU: Intel i5-7600K (installed with the motherboard)
- WiFi Adapter: GIGABYTE GC-WBAX200 (included in the box)
- Graphics Card: GTX 760 4GB (already owned)
- Monitor: BenQ EL2870U 4K Monitor (already owned)
- Storage: 240GB SSD (taken from an old laptop, swapped with a 120GB drive I had on hand)
- Case: Kolink Observatory HF Mesh ARGB
- Power Supply: MSI MAG A550BN
- RAM: Corsair Vengeance RB PRO 16GB (2 x 8GB)
- CPU Fan: Thermalright Assasin King 120
I sourced all the new parts from Amazon for quicker delivery and a smoother build process.
Building the PC #
Step-by-Step #
The next step was assembling the system. Having built PCs before, I was confident in the process, but I still followed a Linus Tech Tips YouTube video for a refresher on how to install the parts. It helped ensure everything was done correctly, from mounting the motherboard to connecting the power supply.
Once assembled, the PC powered on without any issues—success!
Finalizing the Setup #
With the PC up and running, I had a few remaining tasks:
- Install Windows 11
- Buy a white desk from IKEA
- Set up my daughter’s account with Parental Controls & Restrictions
- Install games (like Roblox)
- Connect her Amazon Echo Kids speaker via Bluetooth for sound
- Use a wireless keyboard and mouse combo I had bought for £10 years ago but no longer used
The Result #
A Happy Daughter and a Budget-Friendly Build #
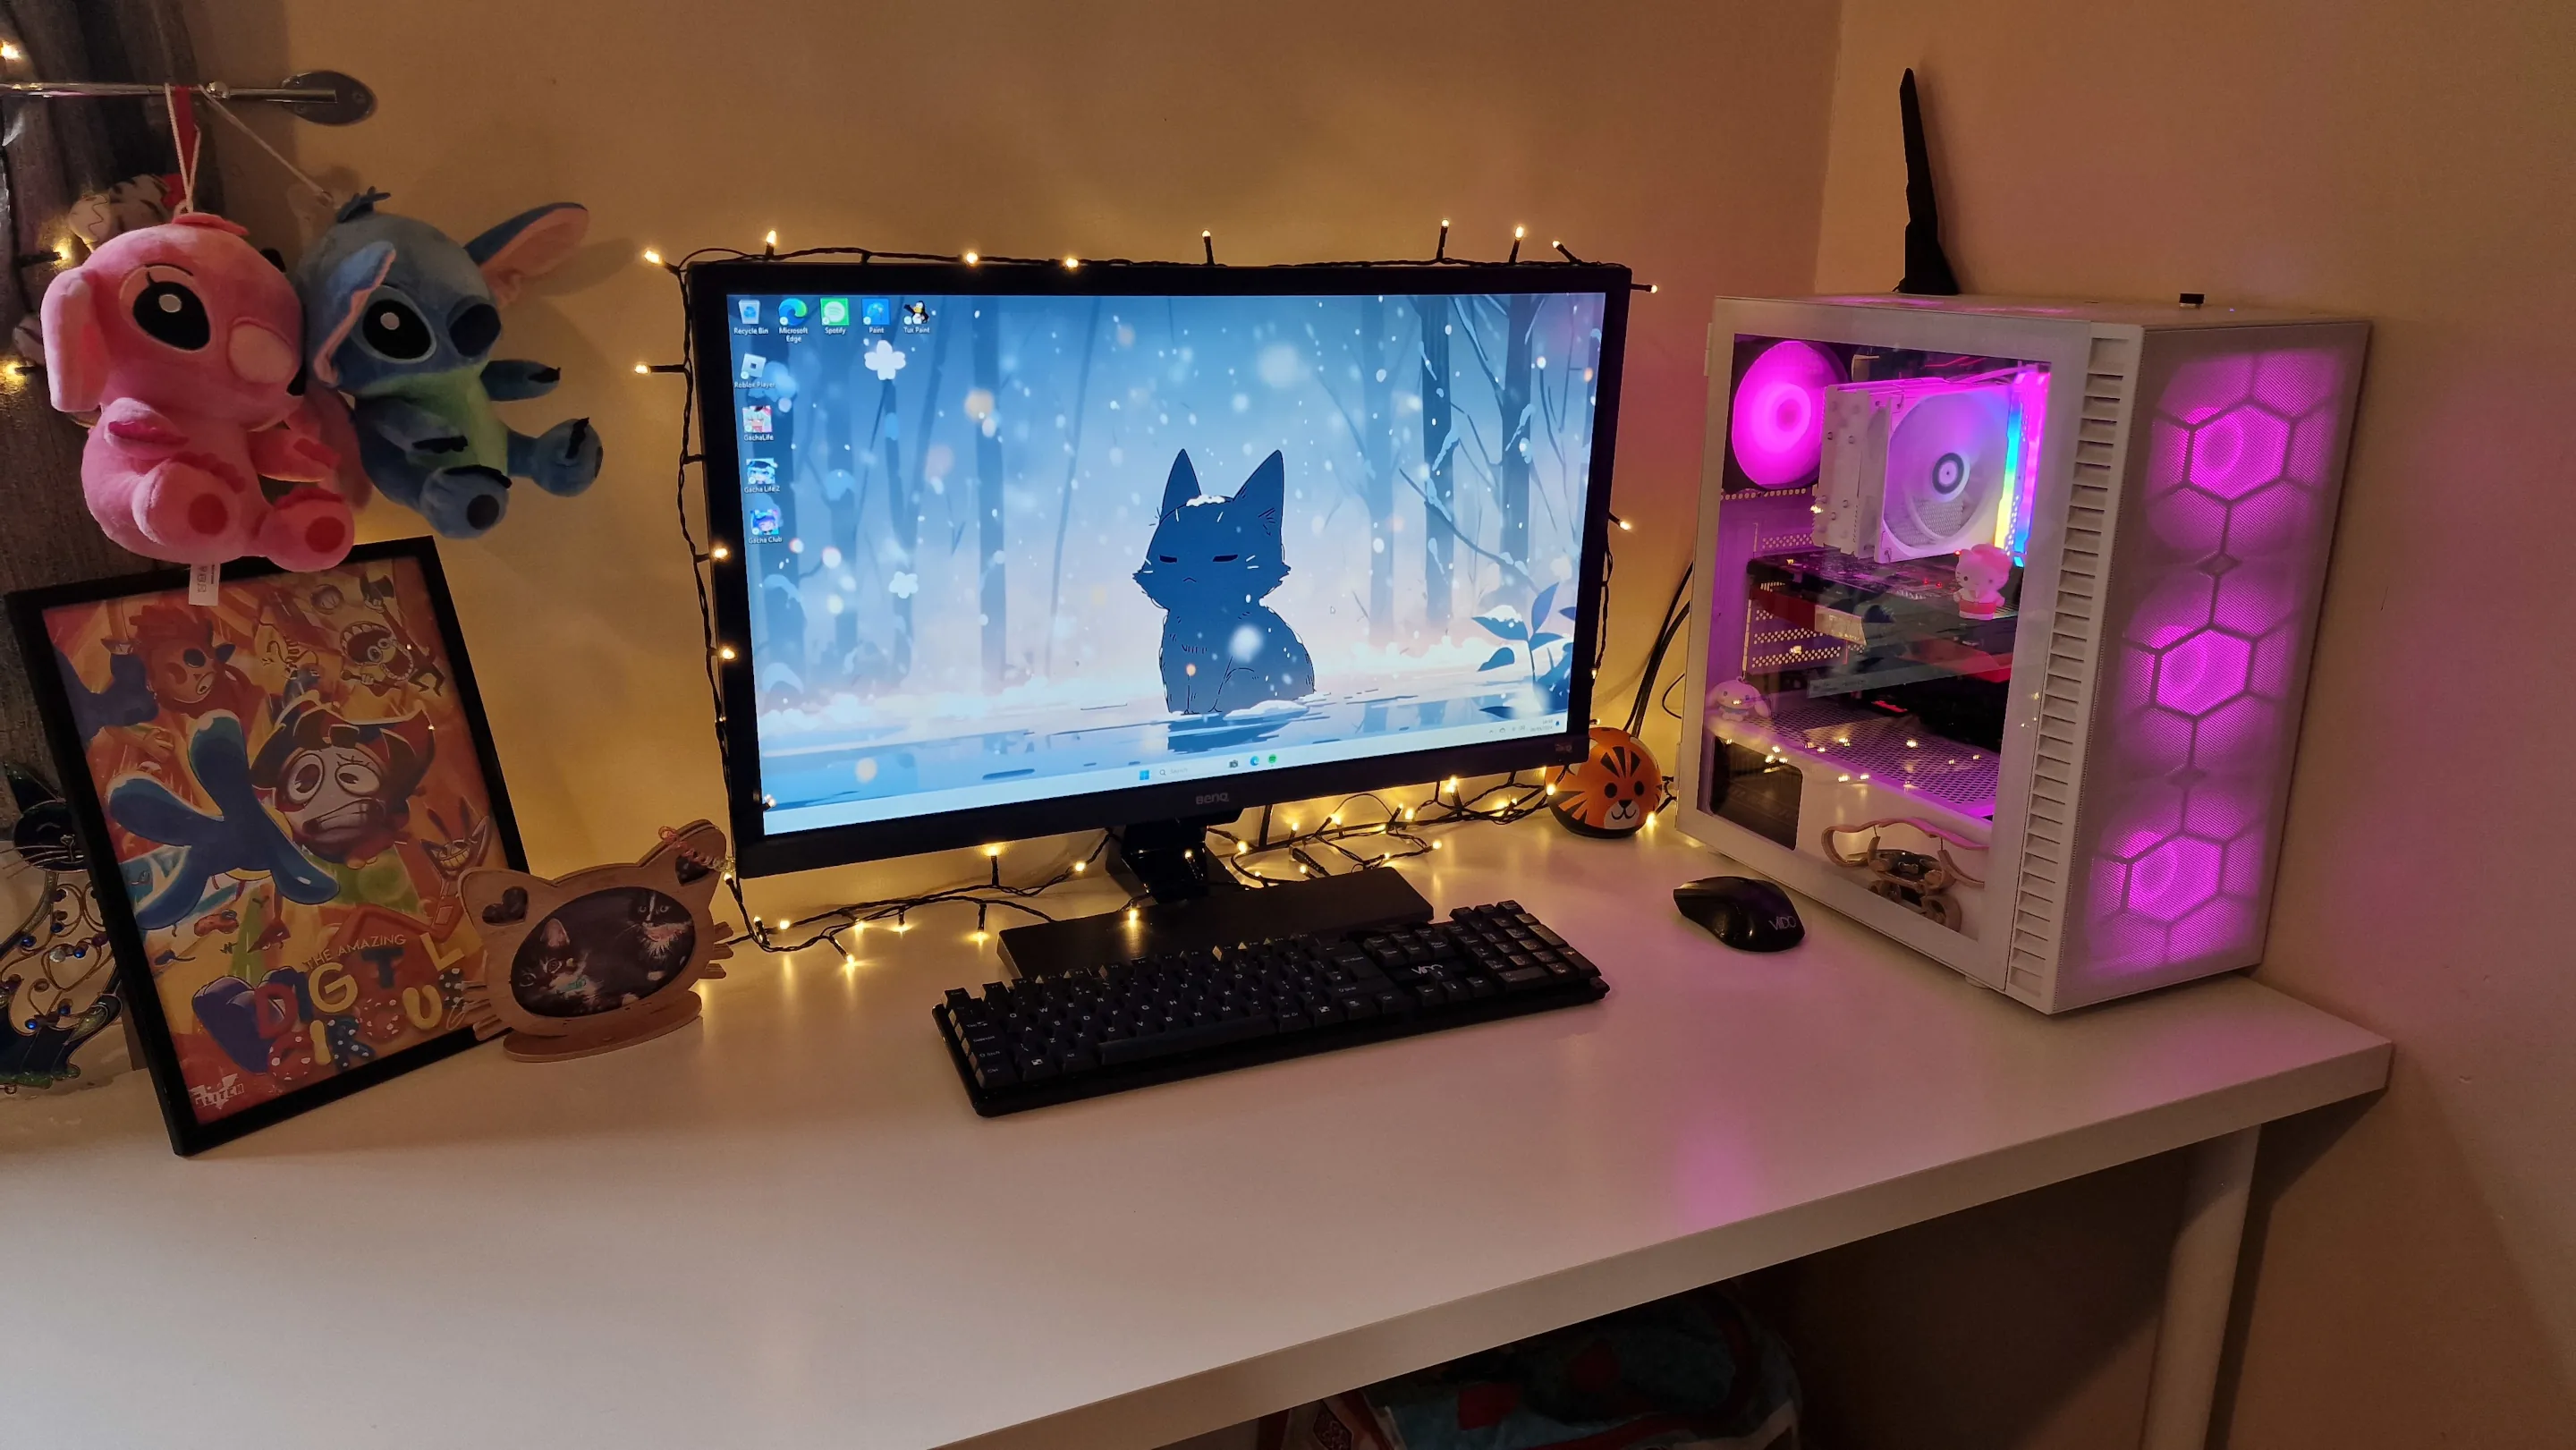
In the end, the total cost of this gaming PC build was under £200, and I couldn’t be happier with the result. Most importantly, my daughter was thrilled with her new setup—her first gaming PC was ready for school and fun!
